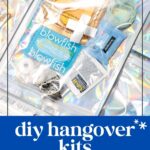
Say goodbye to hangovers with these DIY hangover kits. From rehydration drinks to pain relievers, these kits make great guest gifts for weddings, parties, group travel and more. Here’s what to include in your homemade hangover kits for a speedy recovery after a night of drinking.
Would you like to save this?
DISCLAIMER
*This post may contain affiliate links, meaning Feast + West may receive commissions for purchases made through those links — at no cost to you. All opinions are our own. Please read our full disclosure for more information.
The Ultimate DIY Hangover Kit
Being a cocktail blogger can be pretty fun, but there’s a serious side to my job — I never want to encourage wild partying or anything that borders on irresponsible drinking with any of my drink recipes.
Still, as I get older, I’ve noticed that even one or two drinks can sometimes leave me with a pesky hangover headache. That’s why I love having little pick-me-ups on hand when drinks are part of the plan.
Recently I put together these DIY hangover kits for my future sister-in-law’s bachelorette party (I’m the maid of honor), and they were a huge hit with my fellow bridesmaids. I filled my kits with a few clutch items, like mints, hair ties and pain relievers — just in case someone needed them the next morning, or at any point really.
These kits are fun to put together and super customizable with personal touches or themed goodies. I’d happily make them again for a girls’ trip, wedding weekend or New Year’s Eve party favors. They’d be a good little gift paired with an airplane cocktail kit for a destination trip like a wedding or bachelorette/bachelor party or even as a 21st birthday gift.
More cocktail crafts: Cocktail Infusion Kits • Alcohol Advent Calendar • Mulling Spices

Cost
Before deciding to DIY these, I considered buying similar, pre-made hangover kits online. Making my own turned out to be far more budget-friendly. Plus, I could customize every detail.
Making my own hangover kits was not only more customizable, it was much cheaper than buying them premade. The store-bought version I considered had nine items and cost $9.99 each plus tax, while my DIY kits had 10 items and cost just $4.75 each. For a dozen kits, that’s $57.17 versus $119.88 — a savings of more than $60, plus a few leftover supplies that I shared with my group.
Cost Comparison
Making my own hangover kits was not only more customizable, it was much cheaper than buying them premade. The store-bought version I found had 9 items and cost $9.99 each, while my DIY kits had 10 items and cost just $4.75 each. For 12 kits, that’s $57.17 versus $119.88 — a savings of over $60, plus a few leftover supplies for future projects.
| Store-bought kit | DIY kit | |
|---|---|---|
| Number of items | 9 | 10 |
| Cost per kit | $9.99 | $4.75 |
| Cost for 12 kits | $119.88 | $57.17 |
| Savings (12 kits) | — | $62.71 |
What you’ll need
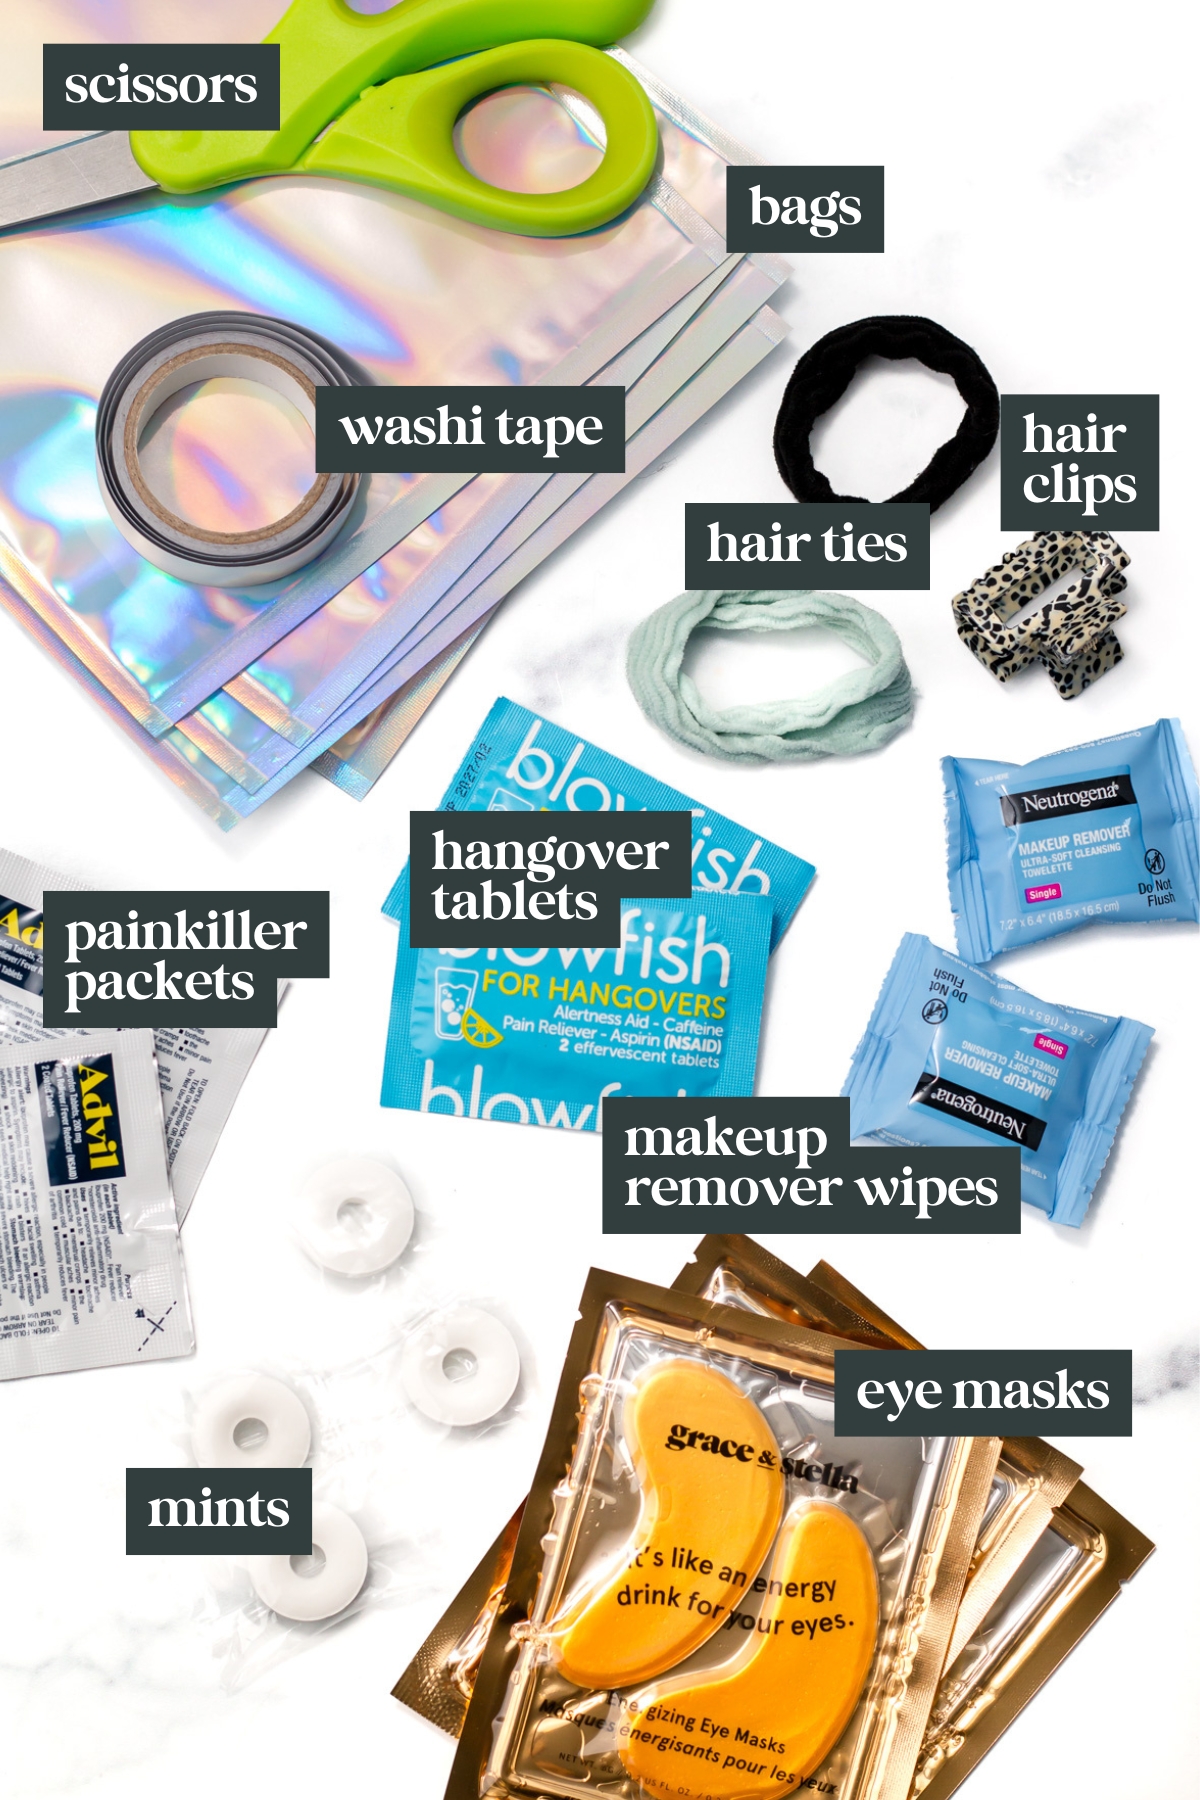
First and foremost, you’ll need some kind of goodie bags. I used these 6-inch x 9-inch holographic resealable bags* but any favor bag could work. I recommend keeping it small enough for someone to tuck in their suitcase.
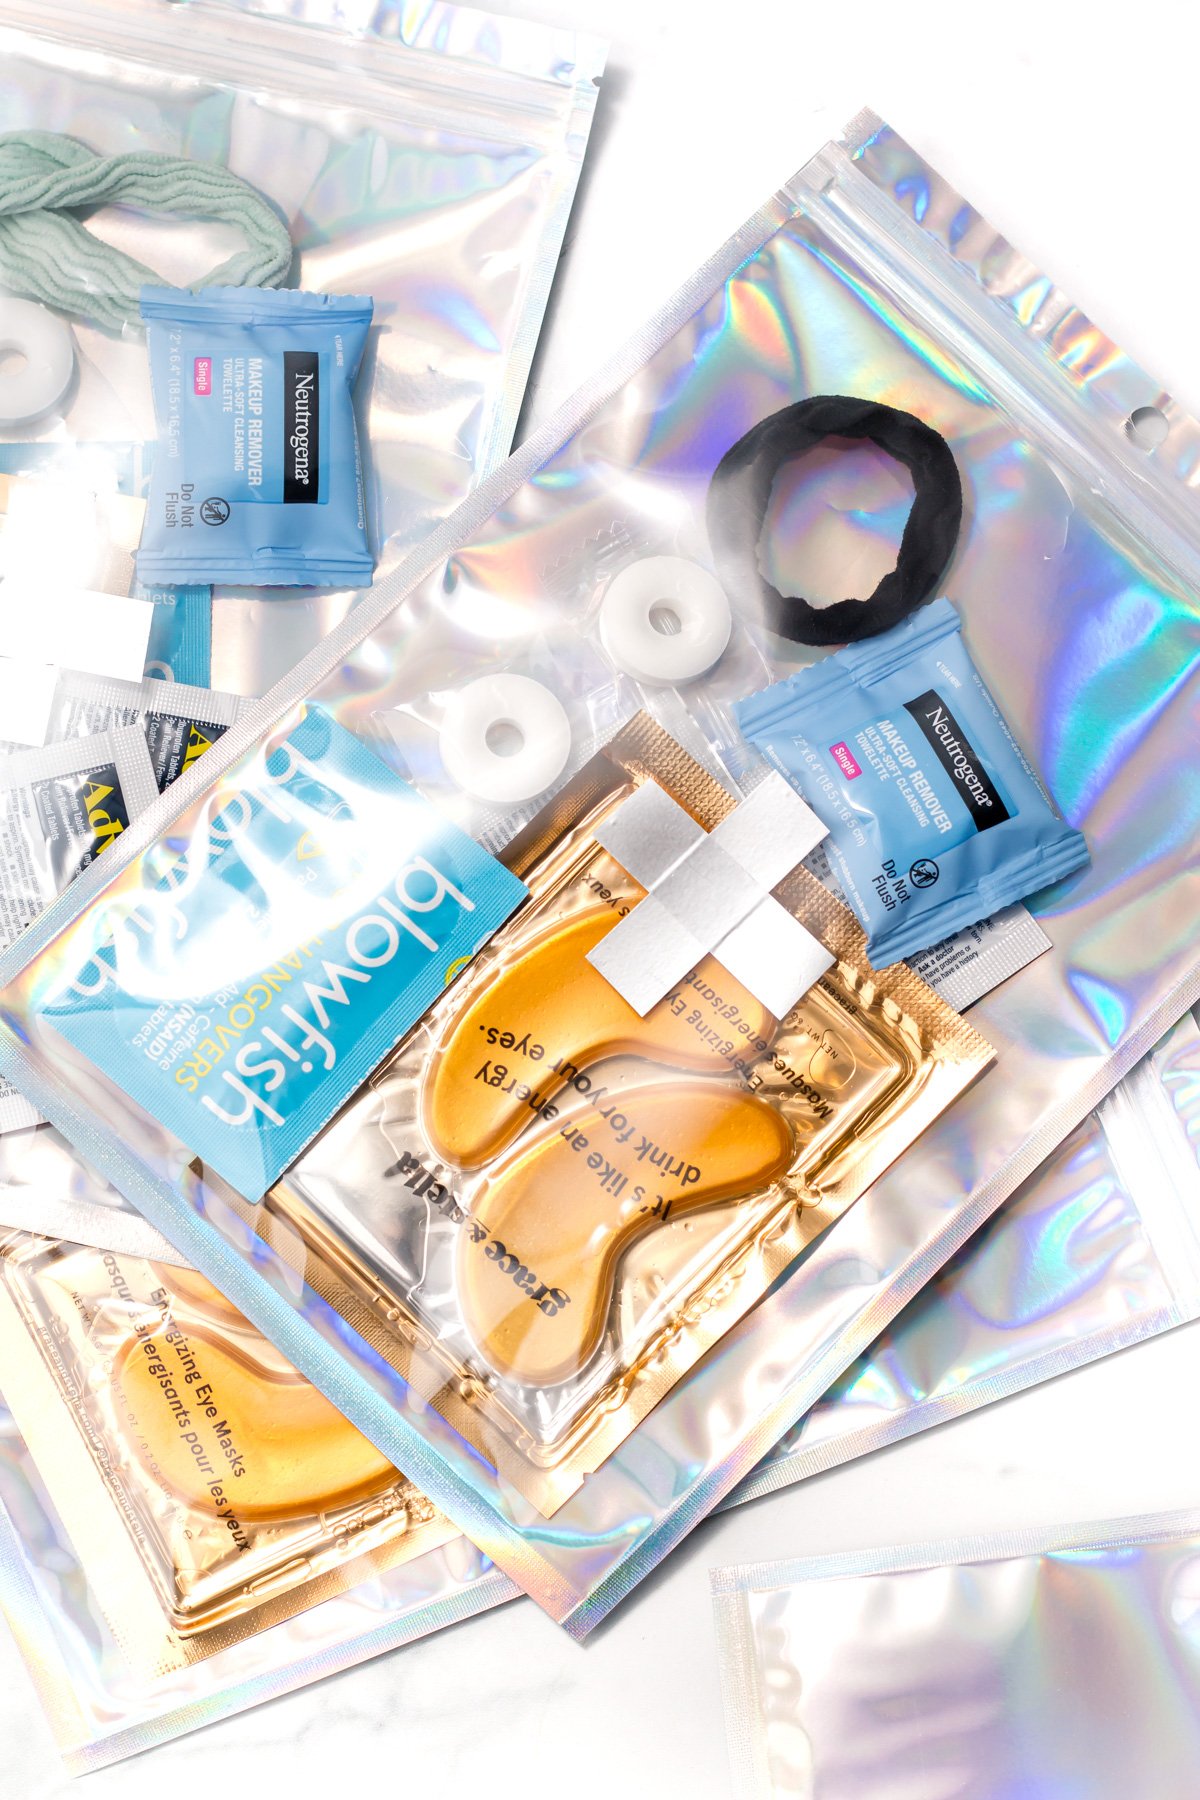
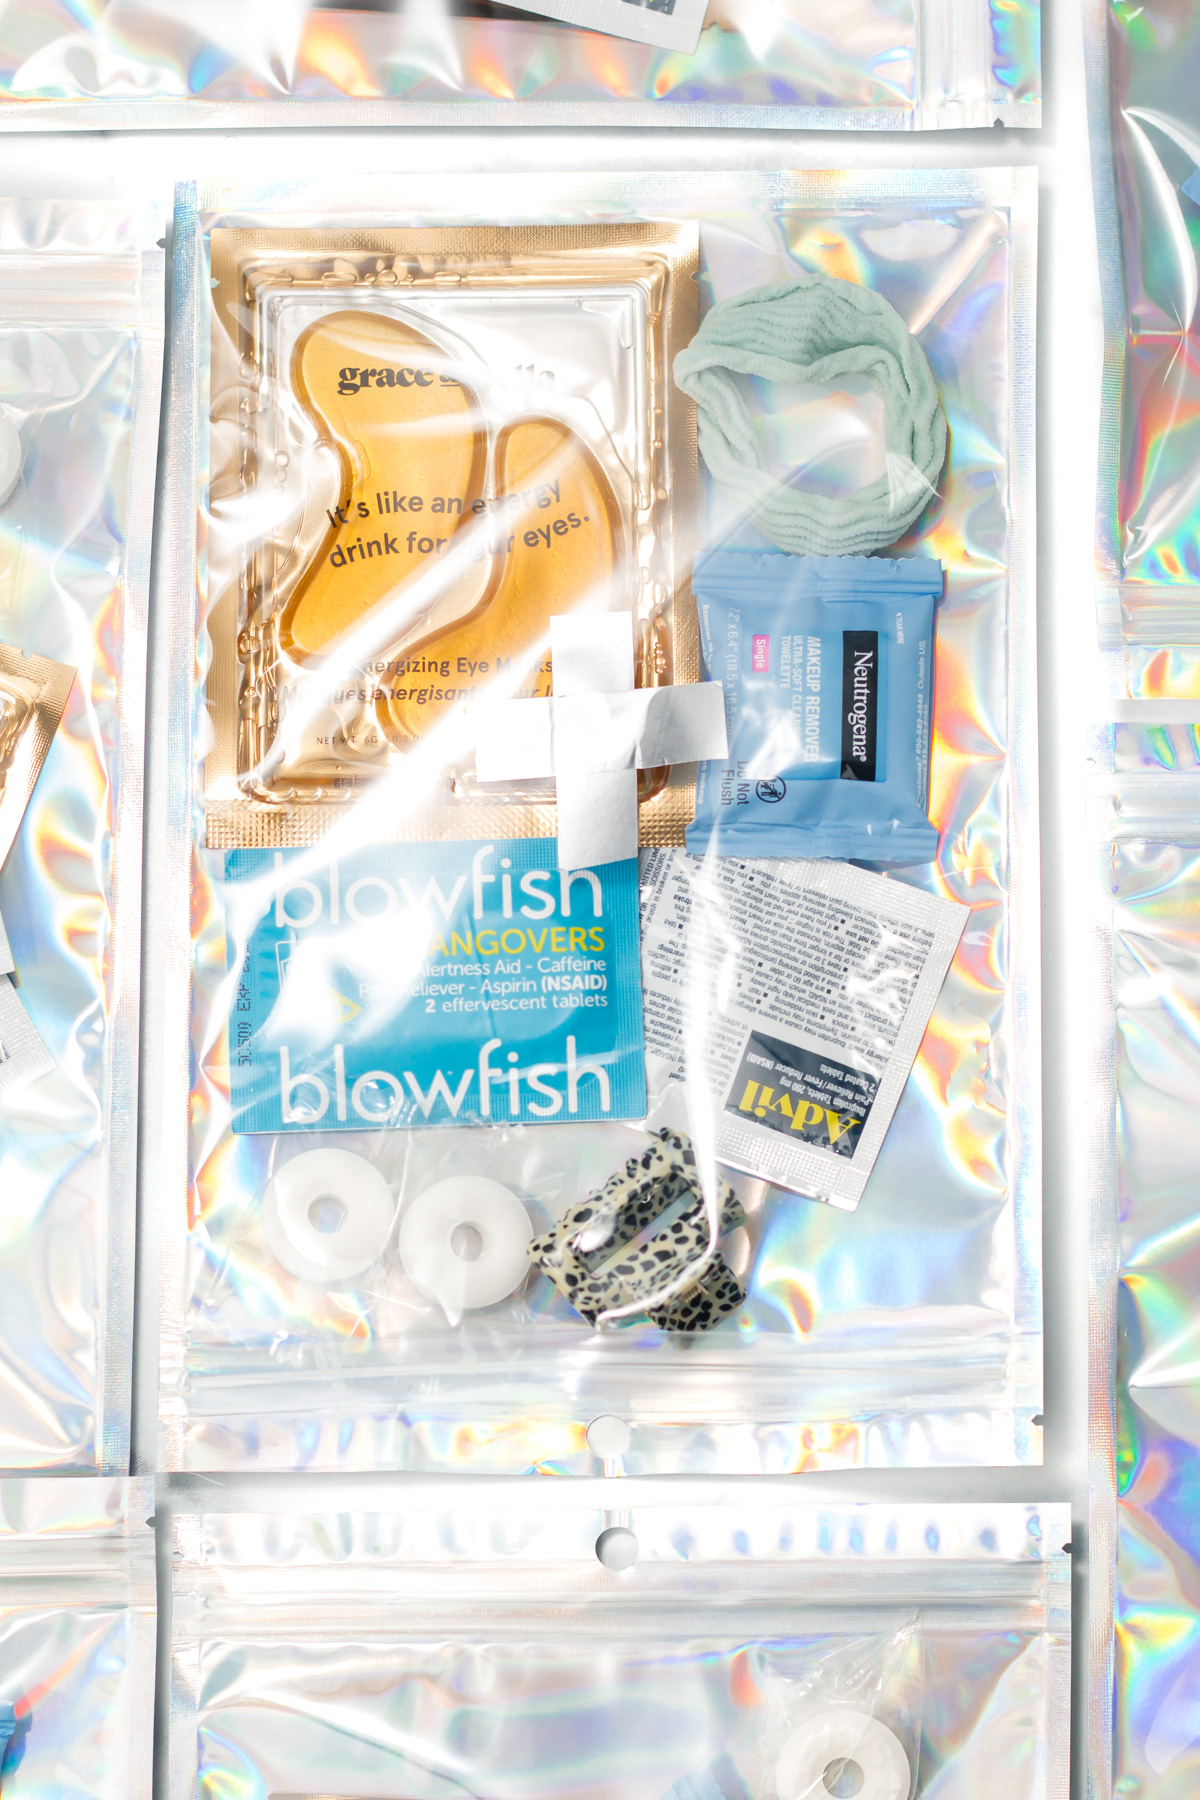
If you want to decorate the bags, have fun with it. I used silver washi tape* to create little medical cross symbols — subtle enough to blend in, but still giving them an “emergency kit” look without being mistaken for real first aid. I measured even strips with a ruler and cut them with scissors for a clean finish.
What to include
You’ll want to fill your bags with a few essentials. Four to six different items is probably sufficient, but you can pack them to the hilt if you’re feeling generous! The right number really depends on your bag size and how much you want to spend on fillers.
Just remember to keep everything small and portable, and ideally individually packaged. Any bottles should be under the 3.4 ounces (100ml) TSA guidelines for liquids, aerosols and gels for anyone traveling by plane.
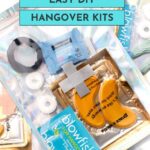
In my bags, I included a couple packets of painkillers, hydration tablets, makeup remover towelettes *, cooling under eye masks *, hair ties and a few mints — just in case!
 Buy Now →
  Buy Now →
  Buy Now →
  Buy Now →
 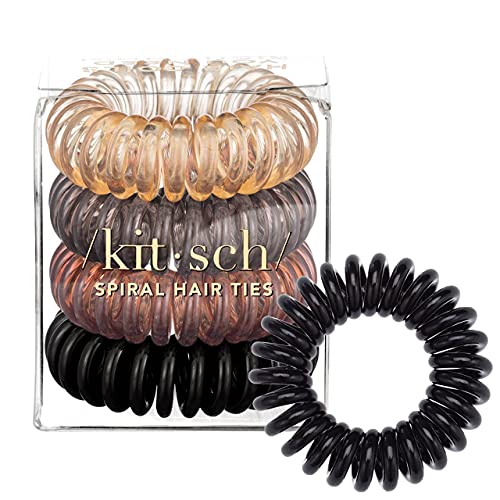 Buy Now →
 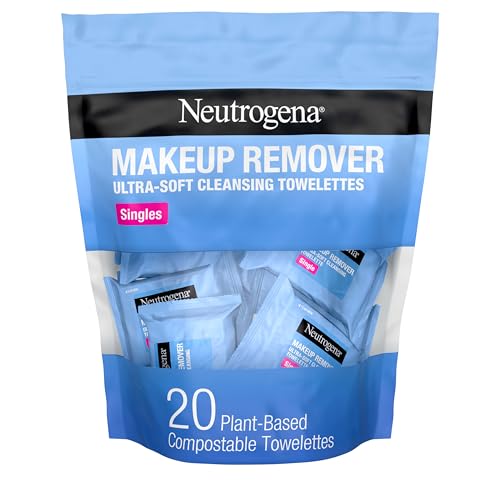 Buy Now →
 *
More filler ideas
If you want to mix things up, there are plenty of other goodies you can tuck into your hangover recovery kit bags. These ideas range from practical to pampering, so you can tailor them to your guests, the season or the occasion. For example, wedding favors might look different than ones for a group trip to Las Vegas!
Toiletries
- lip balm
- travel-size mouthwash
- breath strips
- disposable floss picks
- cooling face mist
- travel-size dry shampoo
- makeup remover towelettes *
- cooling gel eye mask
- hair scrunchies or hair clips
Remedies
- painkiller packets (like Advil, Aleve or Tylenol)
- antacid or upset stomach reliever tablets (like Tums or Pepto Bismol)
- hangover hydration tablets * (like Blowfish)
- band-aids
- blister pads
- electrolyte powder drink mix * packets (like Liquid IV)
- travel-size hand sanitizer
- mini tissue packs
- sleep mask
- sunglasses
- earplugs
- nail file or mini manicure kit
Snacks & Sips
- protein bars or granola bars
- trail mix
- ginger chews
- mints or tic tacs
- gum
- instant coffee packets
- tea bags (peppermint or ginger for upset stomachs)
If you’re throwing these inside of a bigger favor bag or wedding welcome gift, you might also add some bottled water or some comfy socks/slippers. You could also include a rideshare gift card* or a little cash for a ride home if your event includes a night on the town.
Themed ideas
You can also give your hangover kits a seasonal twist by swapping in themed items. A few small touches can make them feel extra thoughtful and perfectly timed for the occasion.
- Bachelorette Weekend Kit: under eye masks *, ring pop lollipops*, cheeky latex bottle stoppers, “to have and to hold your hair back” scrunchies*
- Beach or Summer Festival Survival Kit – sunscreen, sunglasses, electrolyte drink mix, mini fan
- Camping Weekend Kit – bug spray wipes, flashlight, batteries, trail mix, marshmallow roasting sticks
- Holiday Cheer Kit: hot cocoa mix packet, candy cane, fuzzy socks, lip balm
- New Year’s Recovery Kit: hangover helpers, confetti popper, sparkling water, party hat, champagne bottle stopper *
Instructions
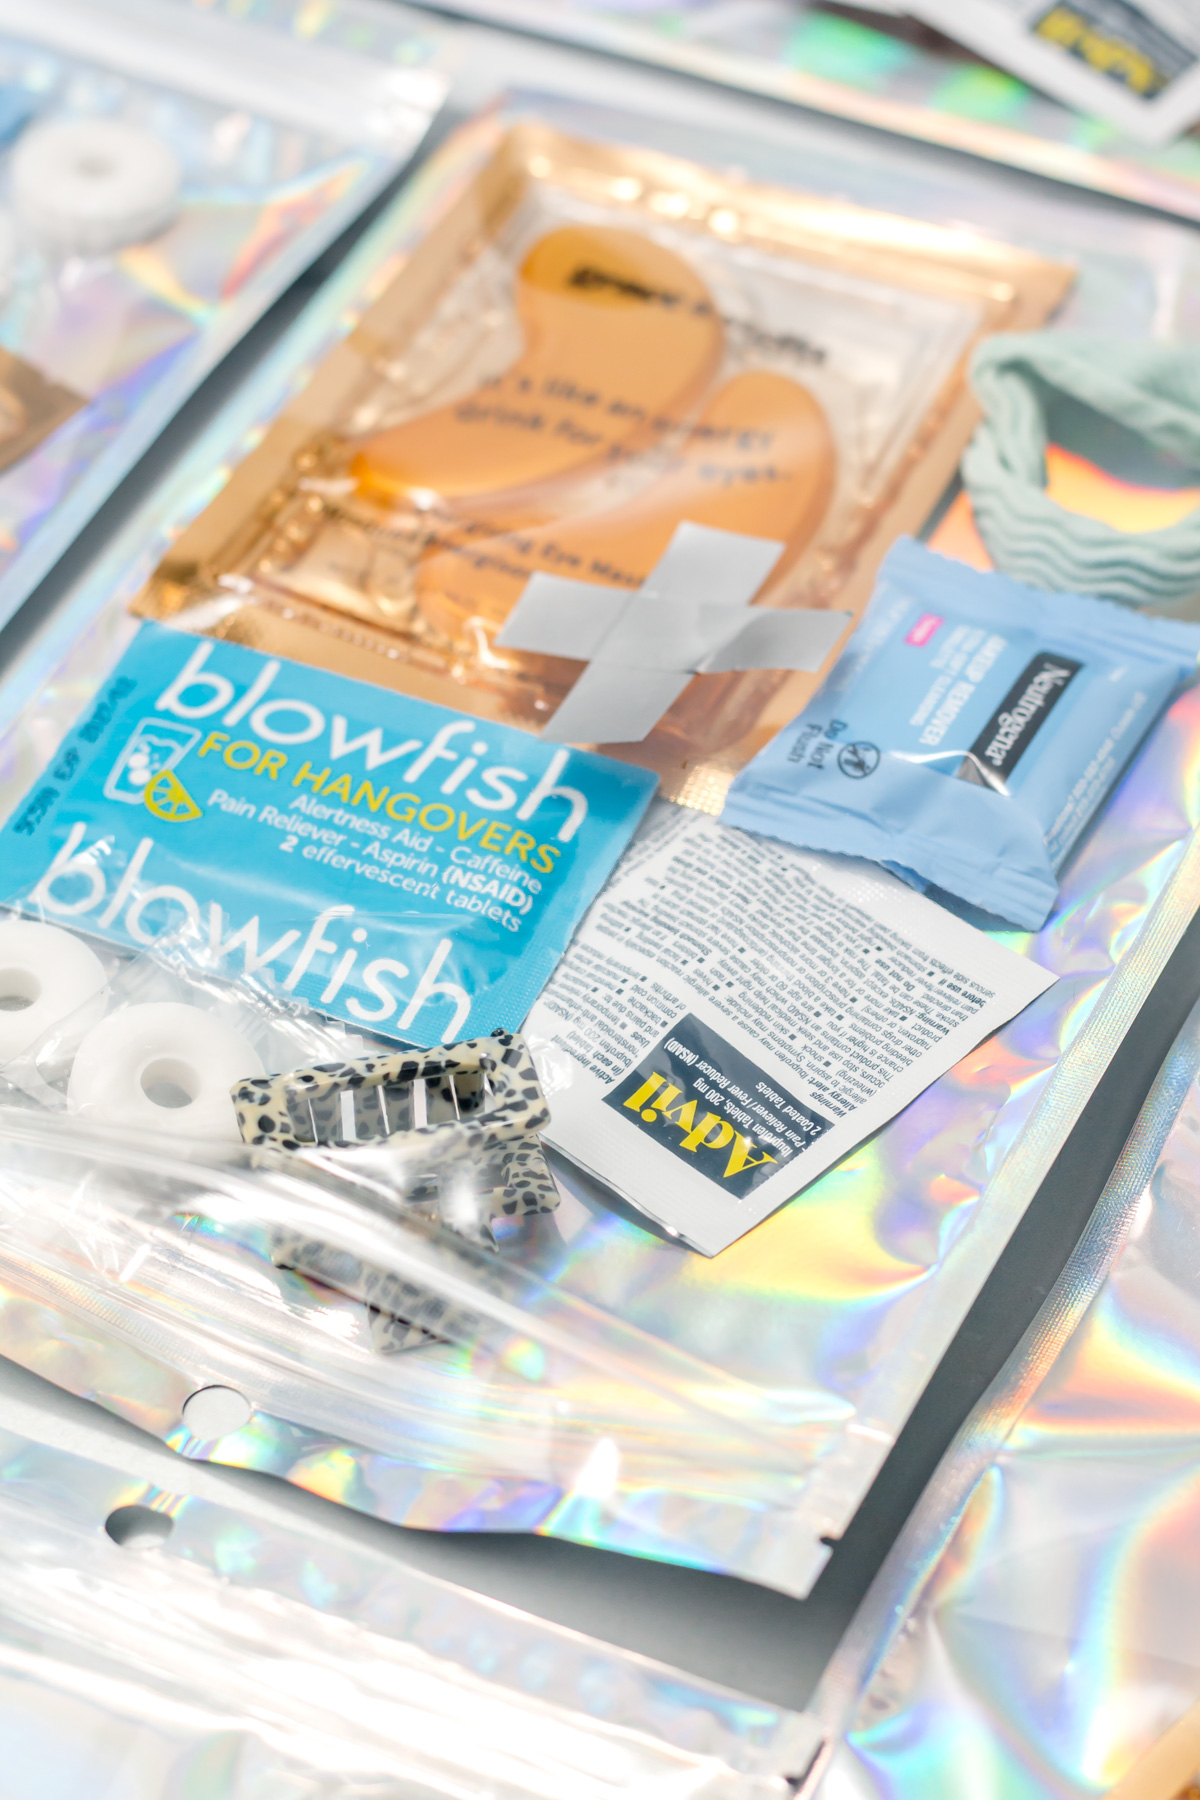
These party favor emergency packs are super easy to put together (you simply put the items in the bags!) but I did want to show you how I made the little medical cross shapes with washi tape:


Measure the width of your washi tape with a ruler — mine was ½ inch. Multiply that by three, then cut two pieces to that length (1½ inches for me). No ruler? Just line up three small pieces of tape side by side, then use that as your guide.
Then, place the pieces of tape in a perpendicular cross-shape in the center of each of the holographic bags on the clear plastic side. This is much easier to do before you fill the bags!
Finally, fill the bags and seal them up! I found it easiest to start with the larger items, then tuck the smaller ones into any gaps. Flat items like pill packets or eye patches can be stacked to save space.
Tips & tricks
- Keep it small. Choose travel-size or mini items so everything fits easily in the bag. Bottles should be under 3.4 ounces (100ml) for air travel.
- Mix practical and pampering. Include both useful essentials (like pain relievers) and fun extras (like lip balm or mints).
- Match the occasion. Tailor your items to the season, location, or event theme for a thoughtful touch.

FAQ
I ordered my bags online and stocked up on many of the fillers there too. For the rest, the travel-size aisle at your local drugstore or big-box store is a goldmine, and bulk retailers like Costco, BJ’s, or Sam’s Club can help you save. Don’t overlook the dollar store either — you can score some surprisingly great finds on a budget.
The best options I found online either came in pack sizes that didn’t match what I needed, or the singles were $10+ each — but making my own was much cheaper. I saved about $60 by DIY-ing them. In the end, I included 10 bulk-purchased items plus the bags themselves. Each kit cost about $4.75 to make, or just over $57 for a dozen. Not bad for a thoughtful little favor that feels far more luxe than its price tag! All in all, I spent about $70 and still have a few items left over for future projects.
About 10 items is a generous amount, but you could definitely fit a few more if you wanted. Flat items, like pill packets or eye patches, fit the best and make the most of the space.
Definitely! Ideally you are including items that won’t expire for a long time, so it would be fine to make them a few weeks or months ahead. If anything is perishable, just wait to add it until right before you hand them out.
Leave a comment or tap the ★★★★★ below to leave a rating — it helps others and supports our work. We love hearing how it turned out!

The Ultimate Hangover Kit
ingredients
- 24 packets pain reliever pills such as Advil, Aleve or Tylenol
- 24 individually-packaged makeup remover towelettes
- 24 individually-packaged breath mints gum, or ginger candy
- 12 packets hangover hydration tablets * such as Blowfish
- 12 individually-packaged cooling gel under eye masks
- 12 pieces hair scrunchies or hair clips
- 1-4 small, individually-packaged personal items (optional) e.g. adhesive bandages, lip balm, travel-size mouthwash, dry shampoo, floss picks, antacid tablets, blister pads, electrolyte powder drink mix * packets, earplugs
instructions
- First, decorate the bag. Measure the width of the washi tape (e.g. ½ inch). Measure 24 strips of washi tape that are three times that amount (e.g. 1½ inches). Arrange them in a cross-shape on the holographic silver goodie bags to resemble a first aid mark.
- To each goodie bag, add headache pills, hangover tablets, makeup remover wipes, under eye masks, hair scrunchie and mints. Seal the bags.
recommended products
As an Amazon Associate and member of other affiliate programs, I earn from qualifying purchases.


Leave a Reply