



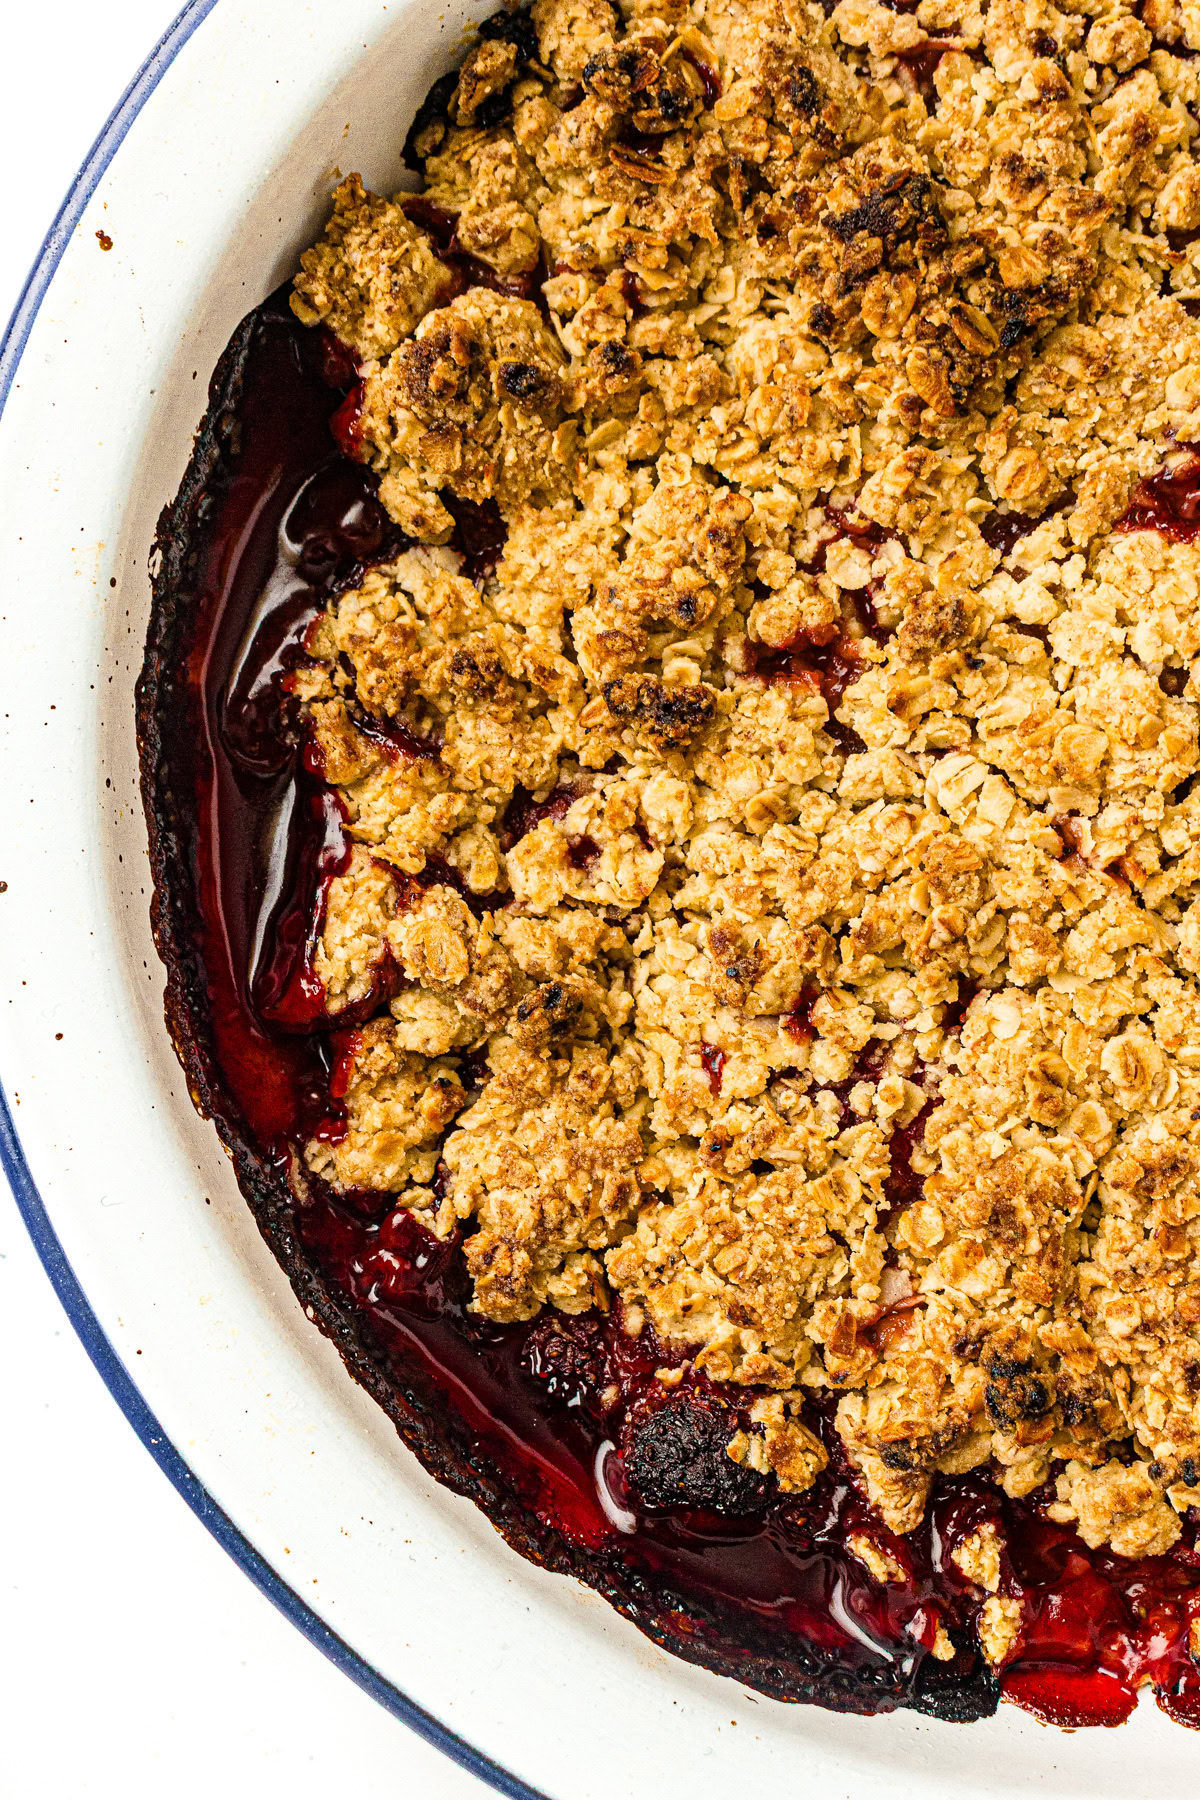
If you have fresh or frozen strawberries, whipping up a simple Strawberry Crisp is the most delicious way to enjoy them.
Would you like to save this?
DISCLAIMER
*This post may contain affiliate links, meaning Feast + West may receive commissions for purchases made through those links — at no cost to you. All opinions are our own. Please read our full disclosure for more information.
About this Strawberry Crisp recipe
One of the best parts of summer are those giant baskets of juicy strawberries from the farmer’s market and grocery store. I simply cannot resist, and I love making cobblers and crisps with them. This Strawberry Crisp is a recipe I’ve been working on and I think I finally perfected it.
I love making this recipe for cookouts or a simple Friday night dessert. It’s easy to make gluten-free if you need to, and it uses pantry staples, so it comes together in a cinch. All you need to buy are your favorite berries. I used strawberries here, but you can use a mixture or swath in blueberries or blackberries — or whatever you have.
Technically, this recipe is a strawberry crisp — the oat-based topping is what separates a crisp from a crumble (which typically skips the oats) and a cobbler (which uses a biscuit or cake-like topping instead).
Note from the author
2026 update: I first published this recipe back in 2015. I’ve revisited this recipe and made some updates, plus added more detailed instructions, pro tips and brand-new photos. Hope you give it a try!
Why you’ll love this recipe
- Made with simple ingredients. You don’t need a boxed mix or anything fancy to make this recipe. Just fresh or frozen berries and some pantry staples.
- Easy to customize. This beginner-friendly recipe is easy to customize. Make it gluten-free by swapping in a gluten-free flour blend, or swap in other berries.
- Perfect for a specific occasion. This dessert is great for holidays, dinner parties, cookouts, and more. Add a scoop of ice cream or whipped cream to make it feel even more special.
Ingredients & essentials
👇 For full measurements and step-by-step instructions, scroll down to the printable recipe card. It’s all there waiting for you!
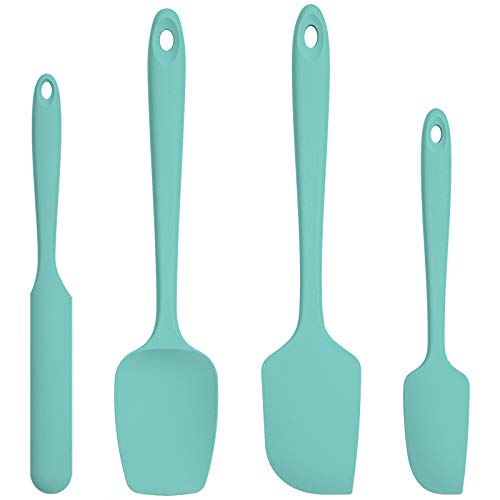
This recipe comes together in a snap with just a few ingredients. Grab a pie dish * and a mixing bowl *, and get to mixing! The beauty of cobblers and crumbles and crisps is that they are haphazardly thrown together and always turn out delicious.
You’ll need farmer’s market fresh berries, but frozen berries work great too. I use strawberries, but you can easily swap in blueberries, blackberries, cherries and raspberries, or you can make it a mixed berry crisp. If you want to pair it with a less crispy topping, you could use the topping from my peach cobbler recipe.
For the filling, you’ll also need all-purpose flour, sugar, vanilla extract * and lemon juice. The crispy, crumbly topping is a simple mix of all-purpose flour, rolled oats, sugar, butter and a pinch of salt. Hold the pinch of salt if you are using salted butter, and the butter can either be softened or melted.
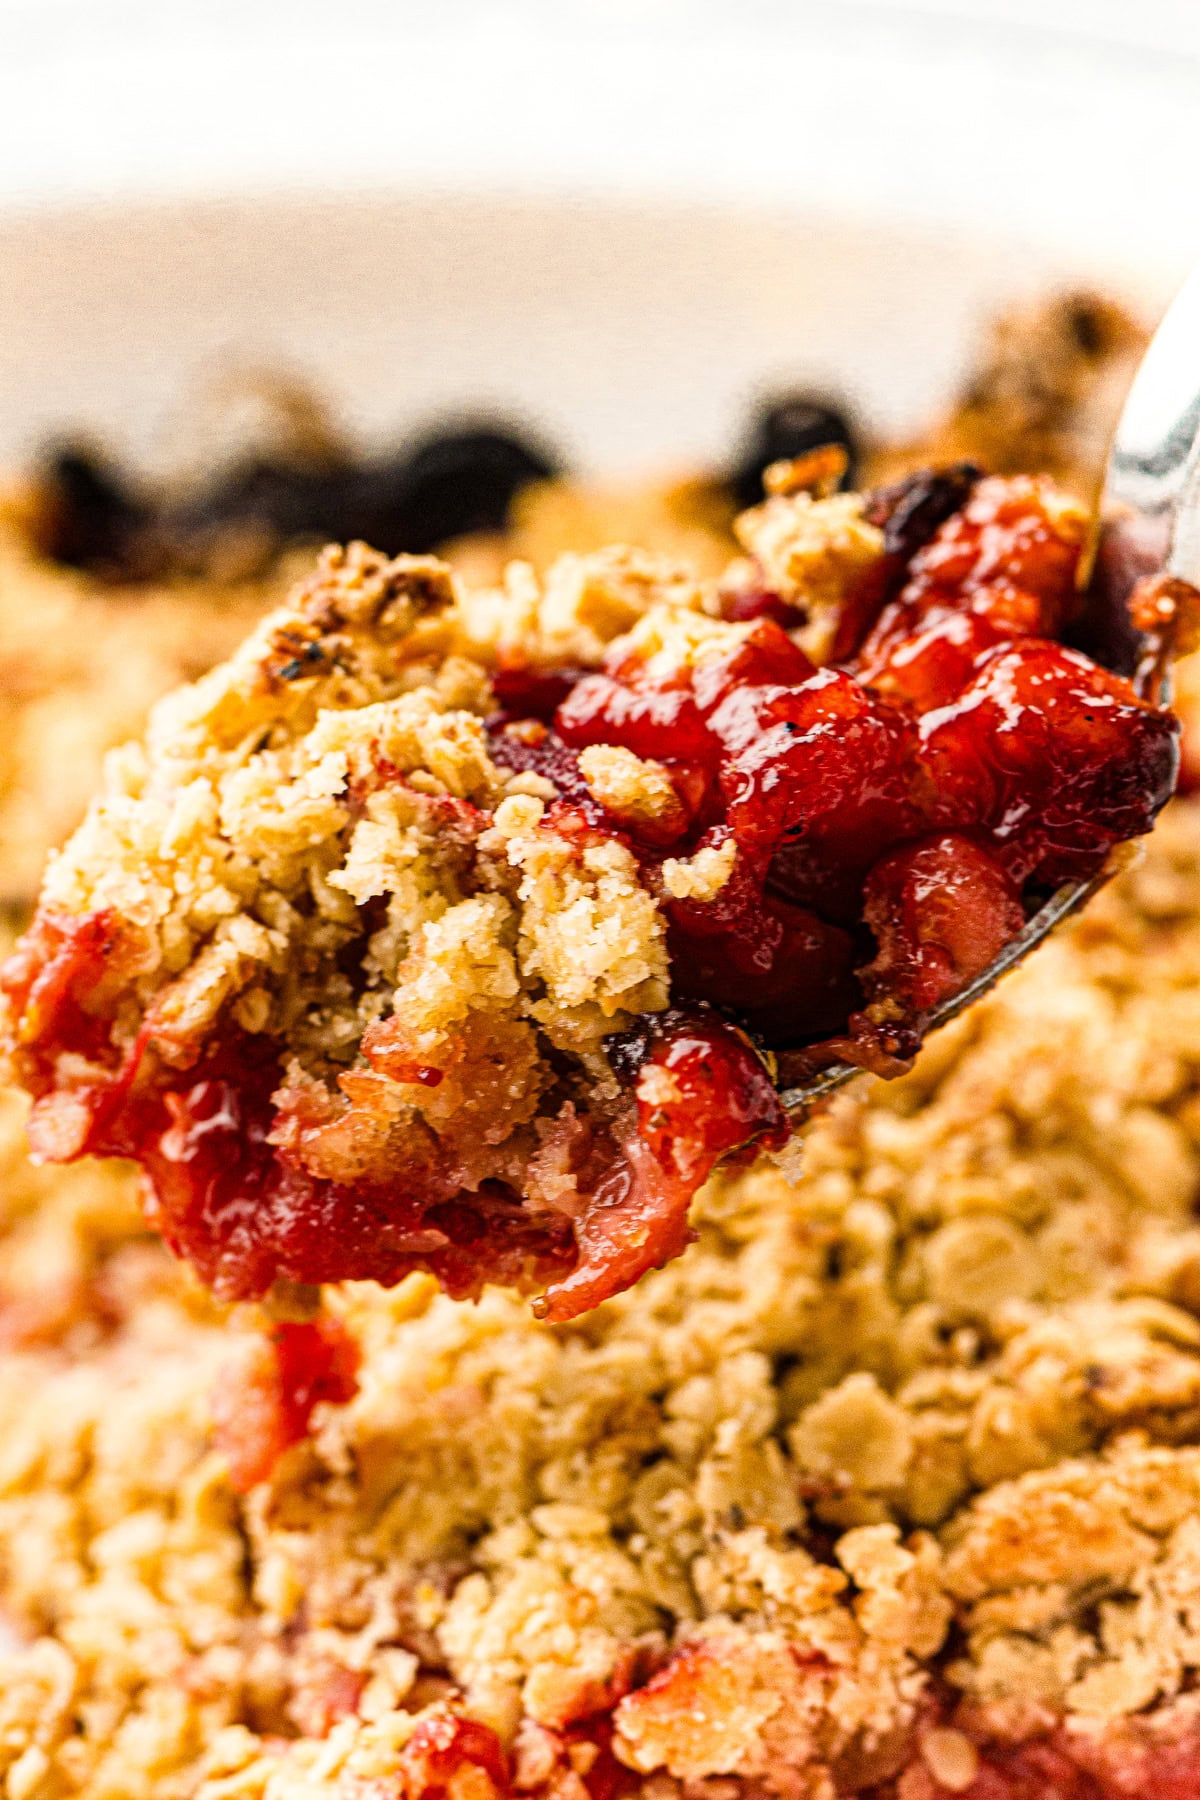
I also recommend serving it with vanilla ice cream or homemade whipped cream to go with it. (There’s really nothing like homemade whipped cream to wow your guests!)
baking essentials
 Buy Now →
  Buy Now →
  Buy Now →
 *
Instructions
This recipe is super simple to make. Grab some frozen or fresh strawberries and get to mixing. It comes together in minutes and is ready to bake straight away!
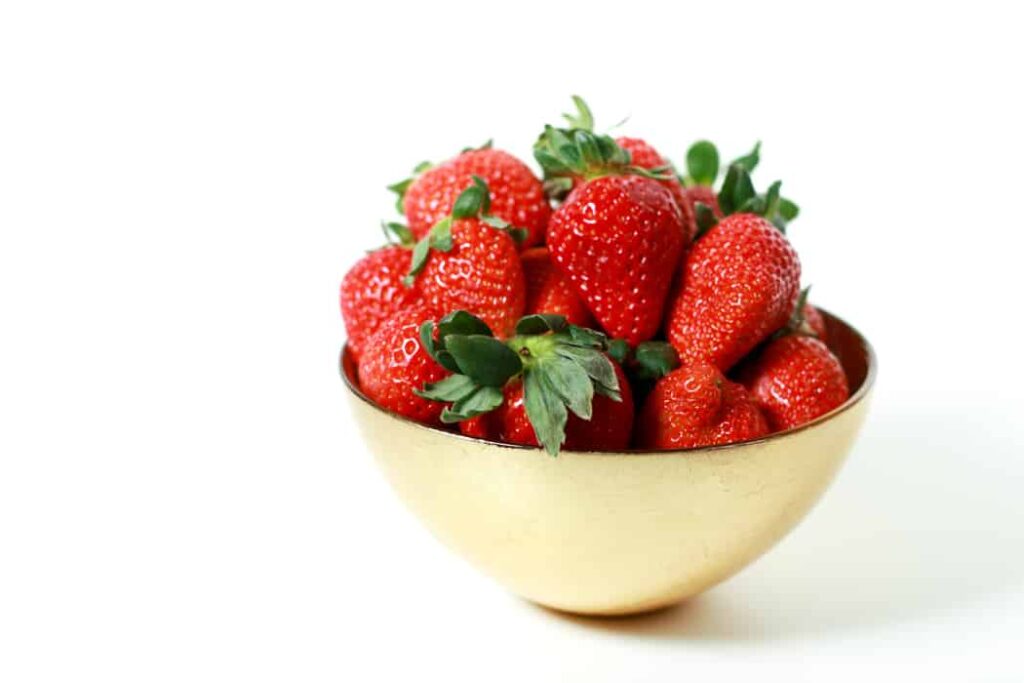
- Preheat the oven to 350°F (177°C). In a large bowl, toss the strawberries with the sugar, gluten-free flour and vanilla and lemon juice, if using. Pour the strawberry mixture into an 8-inch baking dish. (No need to thaw if using frozen berries.)
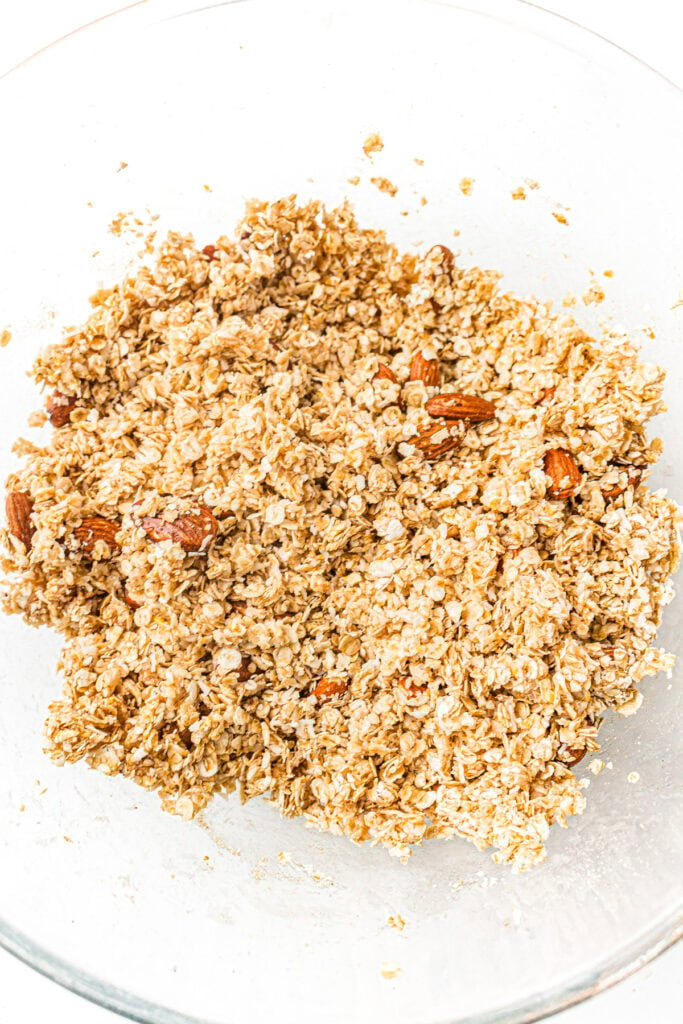
- In a separate bowl, stir together the oats, flour, sugar and salt. Add the butter to the dry ingredients, and work the mixture with your fingers until it holds together in rough, crumbly clumps. Scatter the topping evenly over the strawberry filling.
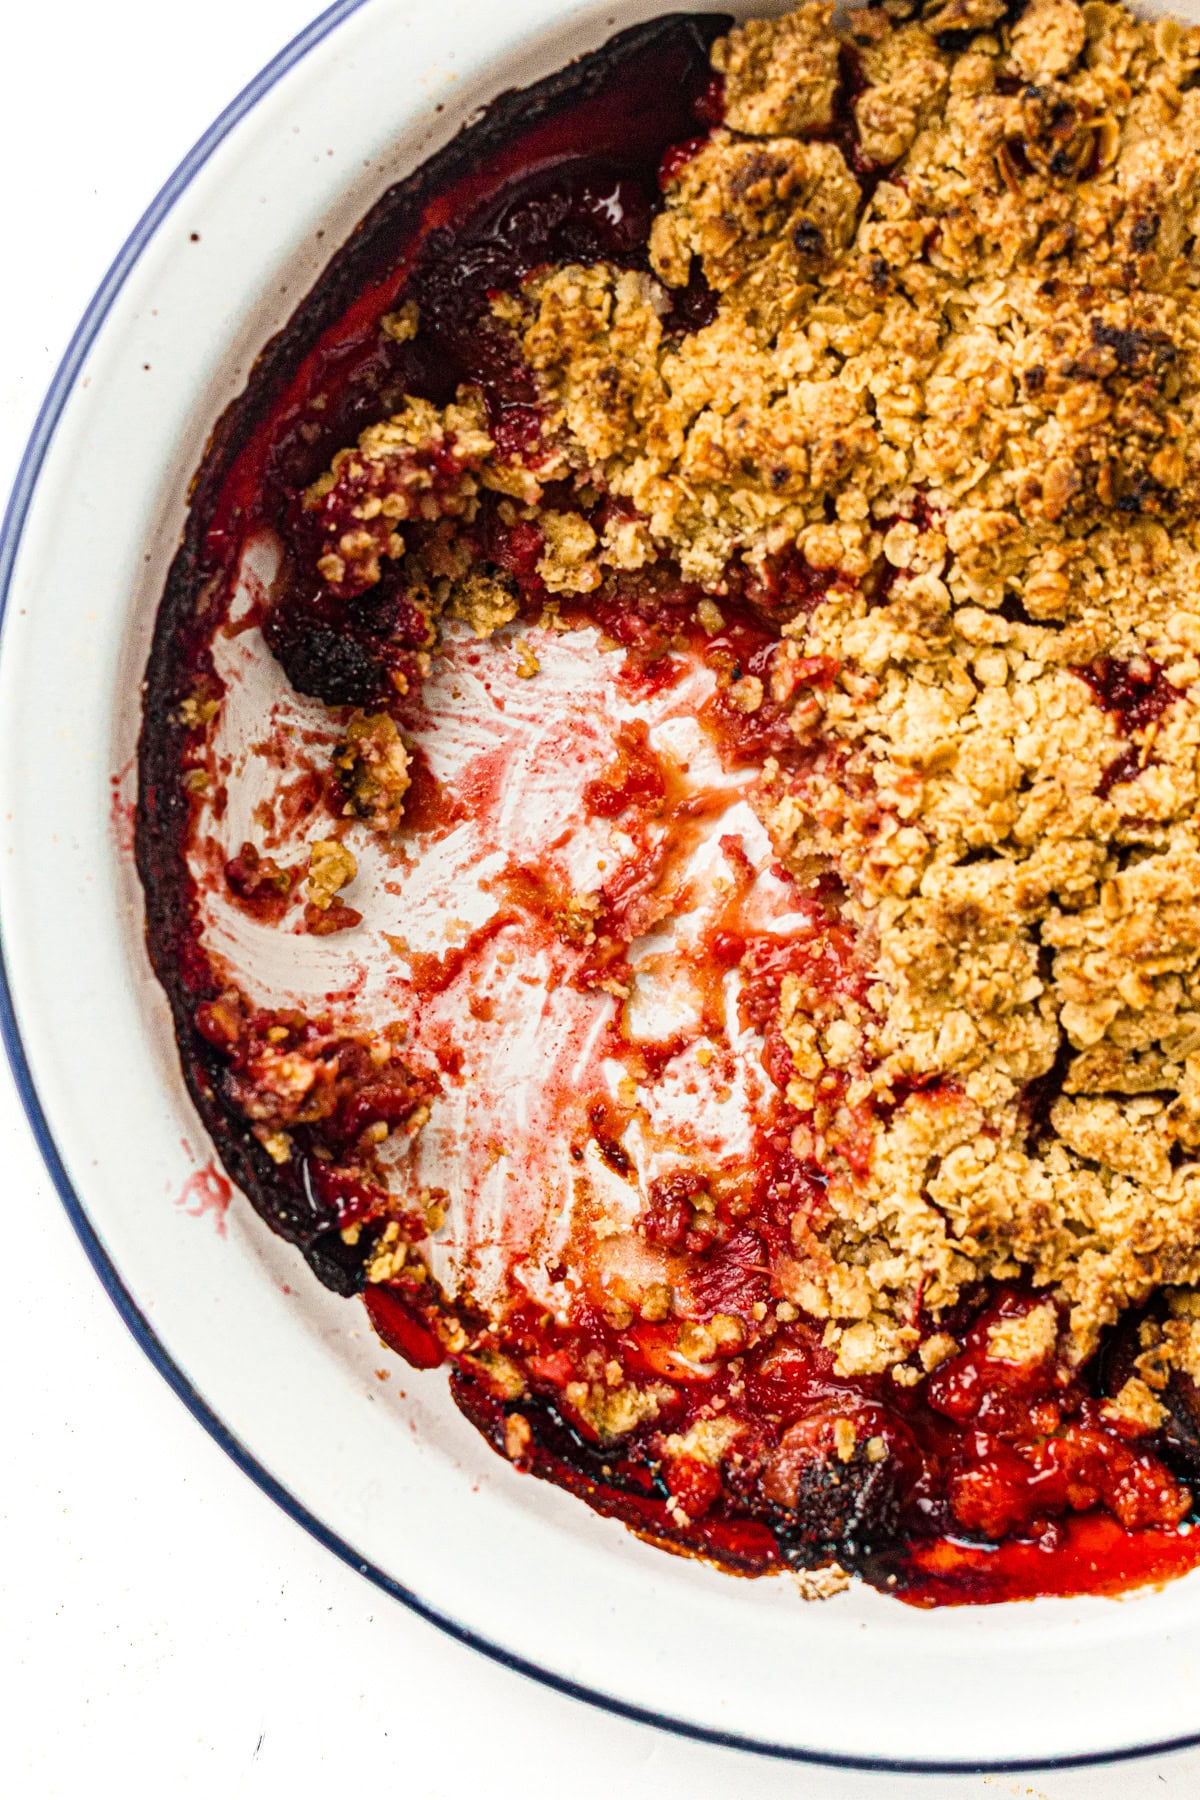
- Bake for 35–40 minutes, until the topping is deep golden and the filling is bubbling at the edges. Let the crisp rest for 10 minutes before serving — the filling will thicken as it cools slightly.

Tips & tricks
- Fresh or frozen both work. No need to thaw frozen strawberries before baking — just toss them straight into the dish. The extra liquid they release as they cook becomes part of the jammy filling.
- Whole or sliced, your call. Leaving strawberries whole gives the crisp a more rustic look and bigger bites of fruit. Slicing them makes the filling a little more jam-like.
- Use a shallow baking dish. An 8-inch square or similar size pie dish * works well. You don’t want the fruit layer too thin so it can bubble up around the topping.
FAQ
Yes! This crisp works well with most stone fruits and berries. Peaches, blueberries, cherries and raspberries are all good options, but you could also use apples or pears in the fall. If mixing fruits, just make sure the total amount stays around 4 cups.
Look for two things: The topping should be a deep, golden brown color, and the fruity filling should be visibly bubbly around the edges of the dish, and into the topping. If the topping begins to brown too quickly before the filling is ready, loosely tent the dish with foil and continue baking.
Absolutely. Assemble the crisp filling and topping — and store separately — up to a day in advance. Then, assemble straight out of the refrigerator when you’re ready to bake, adding a few extra minutes to the bake time if needed.
Cover and refrigerate for up to three days. Reheat individual portions in the microwave, or warm the whole dish in a 350°F (177°C) oven for about 10 minutes until heated through.
Leave a comment or tap the ★★★★★ below to leave a rating — it helps others and supports our work. We love hearing how it turned out!
Strawberry Crisp
ingredients
Strawberry filling
- 4 cups strawberries fresh or frozen
- 2-3 tablespoons granulated sugar (use 1–2 more if berries are very tart)
- 1 tablespoon all-purpose flour
- 1 teaspoon vanilla extract optional
- 1 teaspoon lemon juice optional
Crumble topping
- ¾ cup all-purpose flour
- ¾ cup rolled oats
- 3 tablespoons granulated sugar
- 5 tablespoons butter melted
- 1 pinch salt
instructions
Strawberry filling
- Preheat the oven to 350°F (177°C).
- In a large bowl, toss the strawberries with the sugar, gluten-free flour and vanilla and lemon juice, if using.4 cups strawberries, 1 tablespoon all-purpose flour, 1 teaspoon vanilla extract *, 3 tablespoons granulated sugar, 1 teaspoon lemon juice
- Pour the mixture into an 8-inch baking dish. No need to thaw if using frozen berries.4 cups strawberries
Crumble topping
- In a separate bowl, stir together the oats, flour, sugar and salt.2-3 tablespoons granulated sugar, ¾ cup all-purpose flour, ¾ cup rolled oats, 1 pinch salt
- Add the butter and work the mixture with your fingers until it holds together in rough, crumbly clumps.5 tablespoons butter
- Scatter the topping evenly over the strawberry filling.
- Bake for 35–40 minutes, until the topping is deep golden and the filling is bubbling at the edges.
- Let the crumble rest for 10 minutes before serving — the filling will thicken as it cools slightly.
notes
Save this recipe for later
recommended products
As an Amazon Associate and member of other affiliate programs, I earn from qualifying purchases.




Leave a Reply